How To Learn Arabic Calligraphy Online? Guide For Beginners
You’ve probably seen a mosque ceiling, a museum case decorated with eloquent Arabic letters that look less like writing and more like movement. If you’ve wondered whether you could learn Arabic calligraphy yourself, without a master in your town or a trip to Istanbul, the answer is yes. It takes a sensible order of study, the right pen, and a way to get your work done. This guide covers all the necessary steps and supplies you require to start your Calligraphy journey.
What You’re Actually Learning in Arabic Calligraphy
Arabic calligraphy, called khatt (الخط), is the art of writing Arabic script with a proper proportion, rhythm, and balance. It isn’t a simple fancy handwriting. Each letter is built from measured strokes made with a flat-edged pen called a qalam, and the pen’s angle creates the thick and thin lines. Pressing harder does not.
You absolutely don’t need to speak Arabic. You do need to recognize the 28 letters of the Arabic alphabet, because calligraphy is built on letterforms. Arabic runs right to left, and most letters change shape depending on whether they sit at the start, middle, or end of a word, or stand alone. You should be learning those forms from day one.
How to get started?
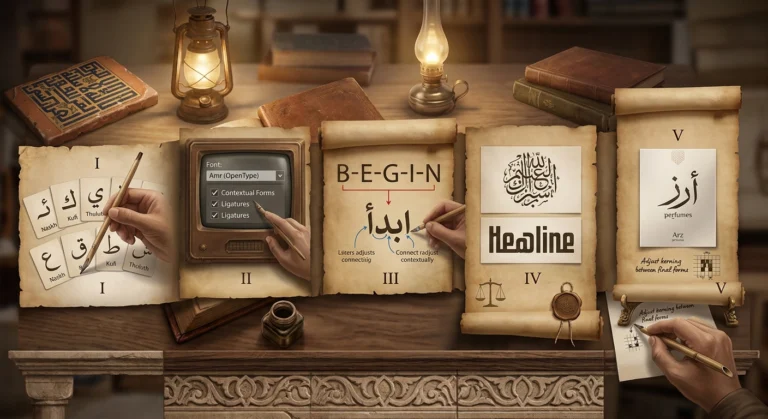
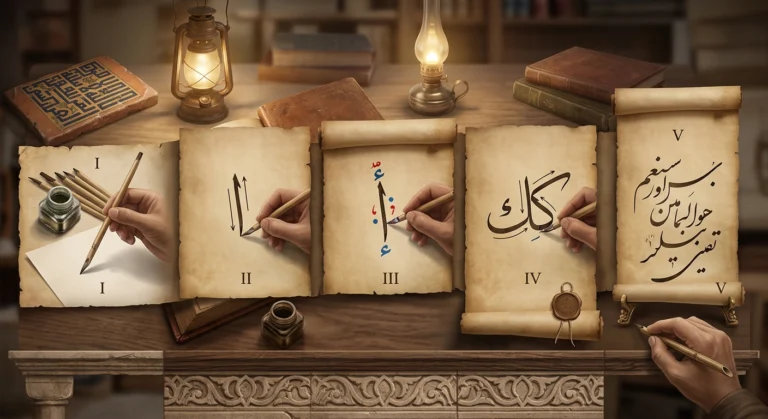
To start your journey, you need to follow the following seven simple steps:
- Choose one script, usually Naskh.
- Get a flat-edged pen, smooth ink, and bleed-resistant paper.
- Learn your pen angle and the rhombic dot.
- Practice single letters until they’re consistent.
- Join letters into short words.
- Copy a skilled calligrapher’s model sheets.
- Get feedback from someone who can see your mistakes.
The sections below explain each step.
Start With One Script
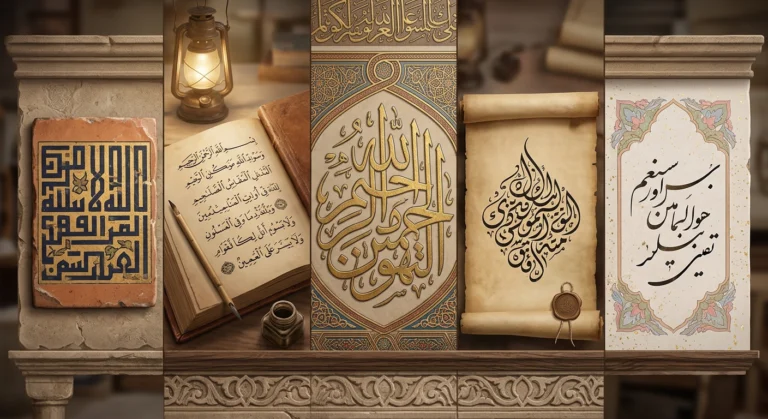
Arabic writing has many calligraphic styles, and beginners often put their effort across several. Pick one. Most teachers start with Naskh because its proportions are moderate, its letters are clear, and it’s the basis of most printed Arabic text today.
| Script | Character | Where you’ll see it | Beginner fit |
|---|---|---|---|
| Naskh | Clear, balanced, readable | Printed Qurans, books | Best first choice |
| Ruq’ah | Compact, quick, plain | Everyday handwriting | Good second script |
| Thuluth | Large, curved, layered | Mosque inscriptions, titles | Later, once control is solid |
| Diwani | Dense, flowing, ornate | Ottoman court documents | Advanced |
| Nastaliq | Slanted, hanging lines | Persian and Urdu poetry | Different technique |
| Kufic | Angular, geometric | Early Qurans, architecture | Approachable, but its own system |
You should not worry seeing this list of Calligraphic styles because once your fundamentals are clear, the fear barrier automatically disappears.
Tools: The most important part for learning Calligraphy
The Pen
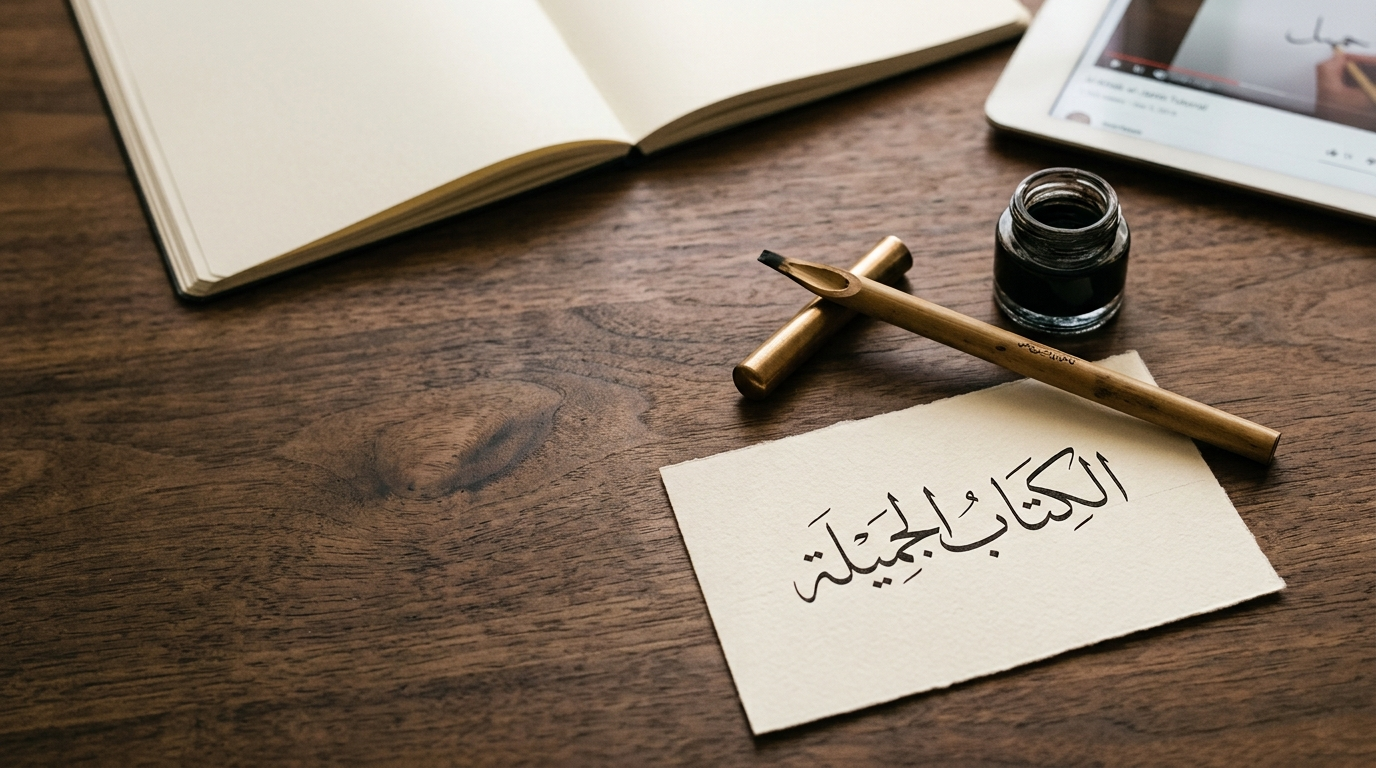
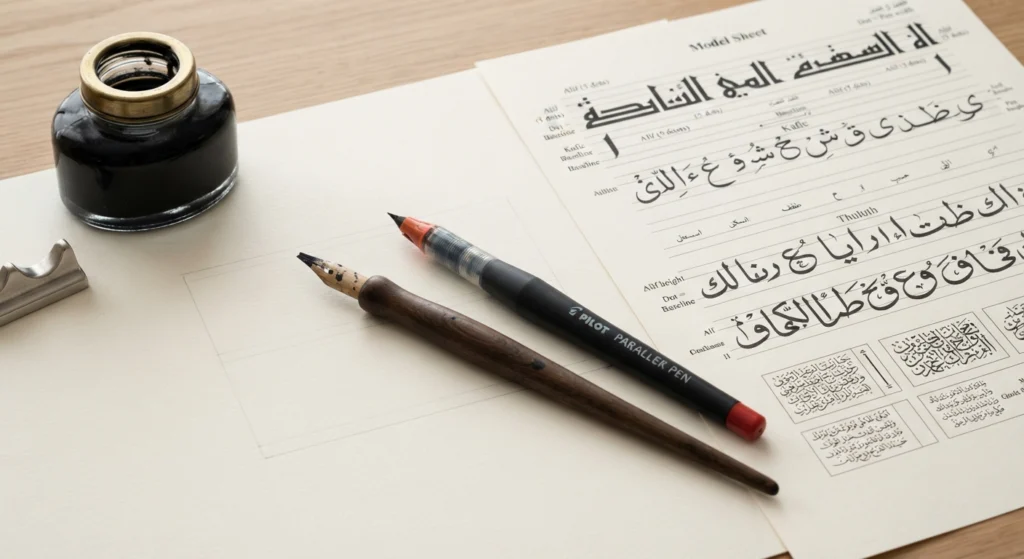
A traditional qalam is cut from reed or bamboo with a flat, angled edge. Cutting your own is a skill in itself, so many beginners start with a pre-cut qalam or a broad-edge marker-style pen such as the Pilot Parallel, which is easy to find in US art stores. Avoid the pointed, flexible nibs sold for English copperplate. They work on a different principle and will not work for you.
The Ink
Black, smooth-flowing ink is enough. Thick, heavily pigmented drawing inks can clog and dry unevenly.
The Paper
Choose smooth paper that resists bleeding, such as a Rhodia pad or a heavier laser-printer paper. Traditional calligraphers coated their paper to help the qalam glide, but you don’t need to start there. Avoid rough watercolor paper, which catches the edge of the pen.
Important concepts regarding learning Arabic Calligraphy
Learn the Dot Before the Letters
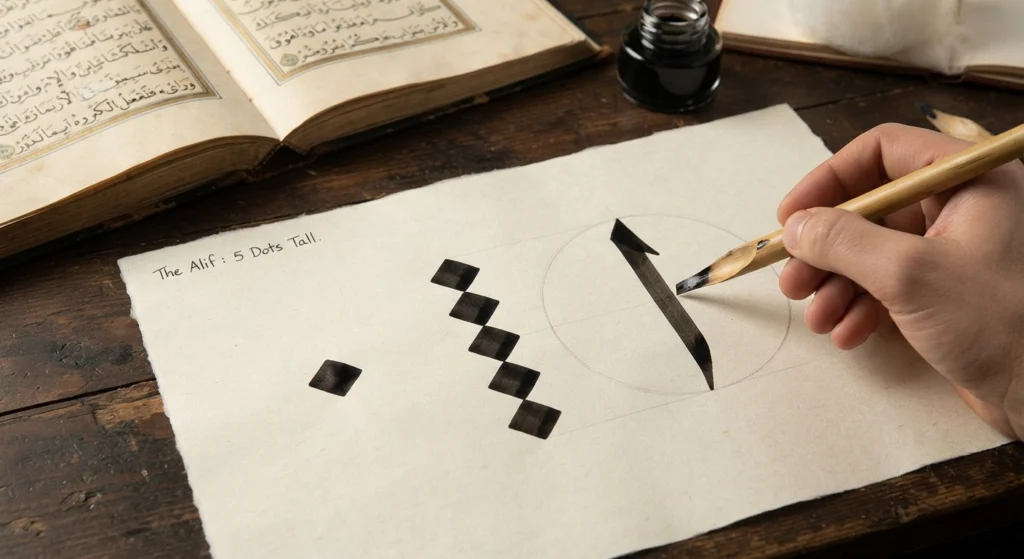
This is the step that separates calligraphy from neat handwriting. Press your pen flat to the paper and lift it, and you leave a small diamond, the Rhombic dot. In the classical system associated with the tenth-century Abbasid vizier and calligrapher Ibn Muqla, that dot is the unit of measurement.
An Alif is a vertical stroke a set number of dots tall (commonly around five in typical Naskh instruction, and taller in Thuluth), and an imaginary circle with the alif as its diameter guides the shapes of other letters. Practice making dots at your pen’s angle, then stack them to build an alif. If your alif is the right height and your dots are uniform, your letters will fall into place far more easily.
Letters Before Words
Classical training separates single letters (mufradat) from joined forms (murakkabat), for a good reason. Joining shaky letters only create problems for beginners.
A useful shortcut: Many Arabic letters share a skeleton and differ only by their dots. Ba, ta, tha, nun, and ya all grow from the same basic shape, so learning one teaches you five. Start with alif, then the ba family, then letters with bowls and loops like mim and waw.
Fill pages with one letter, then repeat it the next day. This is how your hand will get the rhythm and flow of writing.
Where and How to Learn Online
Online instruction comes in a few forms, and each has a role.
Video tutorials
These are best for what photos can’t show They clearly demonstrate pen angle, stroke direction, and rhythm. You should pick those tutorials that teach the dot and proportions rather than only showing finished designed.
Structured courses with a trained calligrapher
It gives you progression and correction. Look for teachers who explain their training lineage and offer feedback on your work. In the traditional system, students studied under a master and earned an ijazah, a license, once their hand was sound. A course doesn’t need that credential, but a teacher who respects the tradition usually teaches it better.
Museum and library collections
They let you study real manuscripts. The Metropolitan Museum of Art’s online Islamic art collection, for instance, includes examples across the major scripts, which is excellent for training your eye.
Model sheets
Traditionally called mashq, are practice pages written by skilled people for beginners to practice. Tracing at this stage is legitimate. Once you do the practice on a regular basis, you will feel much more comfortable.
The weak point of self-teaching is feedback. You can’t easily see your own errors, because the eye that made the mistake is the one judging it. Photograph your pages, share them with a teacher or an experienced community, and ask specifically about pen angle and consistency.
Using a Digital Tool as a Study Aid
A web tool won’t teach you hand control, but it can help you see. With the free Arabic Calligraphy Creator, you can type a word, switch between styles like Naskh, Thuluth, and Diwani, and compare how the same letters connect in each. You can study where strokes begin and end, then trace the result on thin paper before attempting it freehand. It’s also useful for the creative side, such as mocking up a poster or checking how a name might look before you write on paper.
A Simple First-Month Routine
Twenty minutes a day always beats a three-hour session on Sunday.
Week one:
Dots, pen angle, and the alif. No other letters yet.
Week two:
The ba family and a few round letters, one at a time.
Week three:
Join two- and three-letter combinations. Short words like bayt (house) are perfect.
Week four:
Choose one word you care about and work toward a clean version. Get it critiqued.
Expect weeks to produce tidy individual letters and several months before finished pieces start to match the images in your head. That’s normal.
Mistakes That Slow Beginners Down
Beginners tend to rush into long phrases before the letters are steady. They also tilt the pen as they go, which changes the line weight mid-stroke. They mostly treat dots as decoration rather than part of the letter. Another common slip is practicing with the wrong pen because it was cheaper. A flat-edged pen is the foundation of this art, and no amount of effort compensates for the wrong tool.
Where to Go From Here
Learning Arabic calligraphy online works best when you keep things small. One script, one pen, one letter at a time, can take turn the daily practice into a hobby. Start with the dot, build up through Naskh, and look at real manuscripts as often as you can. When you want to see how a word might look across styles, try the Arabic Calligraphy Creator and use it as a visual guide for your practice.