How To Write in Arabic? Complete Step By Step Instructions
Arabic can look pretty interesting at first. The letters run right to left, they change shape depending on where they are in a word, and there’s no capital letter anywhere. But writing in Arabic follows consistent rules, and once you understand the logic, the script is more predictable than English spelling.
This guide covers the whole process: the alphabet, letter shapes, connecting letters, vowel marks, numbers, typing on a keyboard, and how everyday handwriting differs from Arabic calligraphy.
The Shorter Version of How to Write in Arabic
- Write from right to left, starting on the right side of the page.
- Learn the 28 letters of the Arabic alphabet.
- Learn that most letters have four forms: isolated, initial, medial, and final.
- Connect letters within a word, except for six that only connect to the letter before them.
- Add dots and short-vowel marks (harakat) where needed.
- Practice whole words, then short phrases.
Steps for Writing in Arabic
The rest of this article explains each step one by one.
Step 1: Get Comfortable Writing Right to Left
Arabic is written and read from right to left, so you start at the right edge of the page and move left. Left-handed writers sometimes smudge ink at first, and many learners find it helps to use a pencil or a quick-drying pen.
Arabic is also a cursive script. Even in print, letters within a word join together. There are no capital letters, so names and sentence starts look the same as any other word. Instead of lifting your pen after every letter, you’ll often write a whole word in one flowing motion, then go back to add dots.
The same script is used for other languages too. Persian, Urdu, Pashto, and Kurdish (in some regions) all use Arabic-based alphabets with a few extra letters. What you learn here is the foundation for all of them.
Step 2: Learn the 28 Letters
The Arabic alphabet has 28 letters. Don’t memorize them in order at first. Learn them in families that share a base shape and differ only by their dots. For example:
- ب ت ث ن ي share a similar body (ba, ta, tha, noon, ya). Only the dots tell them apart: ب has one dot below, ت has two above, ث has three above.
- ج ح خ (jeem, ha, kha) share a hook-like shape, with the dot changing the sound.
- د ذ and ر ز are small pairs that differ by a single dot.
- س ش and ص ض are wider letters, again distinguished by dots.
- ط ظ, ع غ, and ف ق also come in related pairs.
Dots are not decoration. Leaving one out or putting it in the wrong place can turn a word into a different word, or into nothing at all. Write them clearly.
Also, don’t be thrown by sounds that don’t exist in English. Letters like ع (ayn), ح (ha), and خ (kha) take time to pronounce, but you can learn to write them before you can say them perfectly.
Step 3: Understand the Four Letter Forms
This is the part that surprises most beginners. Because Arabic is joined up, most letters change shape depending on their position:
- Isolated: when it stands alone
- Initial: at the start of a word
- Medial: in the middle
- Final: at the end
Take ب (ba). Alone it’s a shallow bowl with a dot underneath. At the start of a word it becomes a short tooth with a tail that reaches toward the next letter (بـ). In the middle it’s a tooth connected on both sides (ـبـ), and at the end it’s a tail that curves back into a bowl (ـب). The dot stays in the same place throughout.
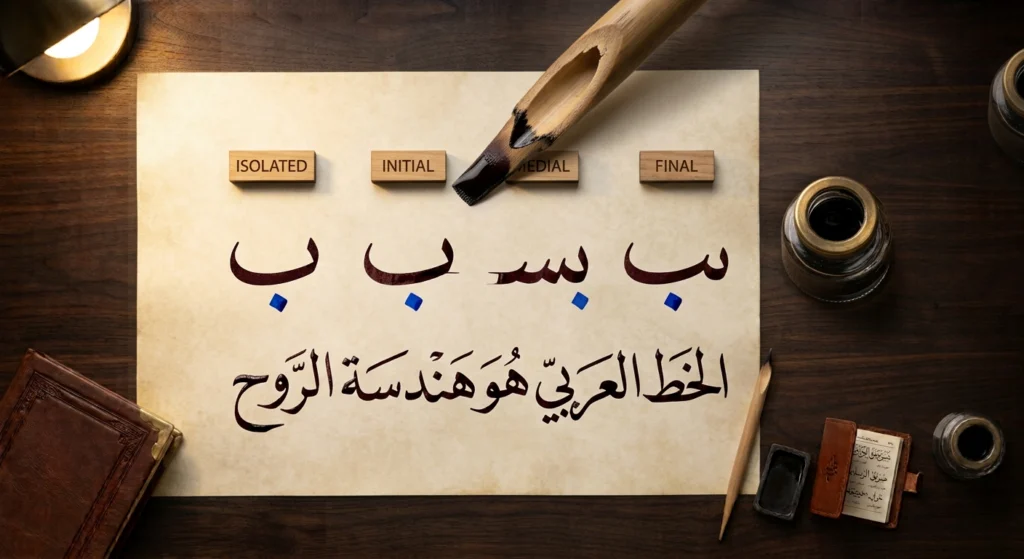
Don’t try to memorize 100-plus shapes in the beginning. Start by learning each letter’s isolated form, then practice it in a few real words. The connected forms are understood faster when you see them in context.
Step 4: Learn Which Letters Don’t Connect
Six letters connect to the letter before them but not to the one after: ا (alif), د (dal), ذ (dhal), ر (ra), ز (zay), and و (waw).
When one of these appears, you finish it, lift your pen, and start the next letter fresh, as if beginning a new word. A good example is the word كتاب (kitab, “book”). The ك connects to ت, which connects to ا. But because alif doesn’t connect forward, the final ب is written separately, even though it’s part of the same word.
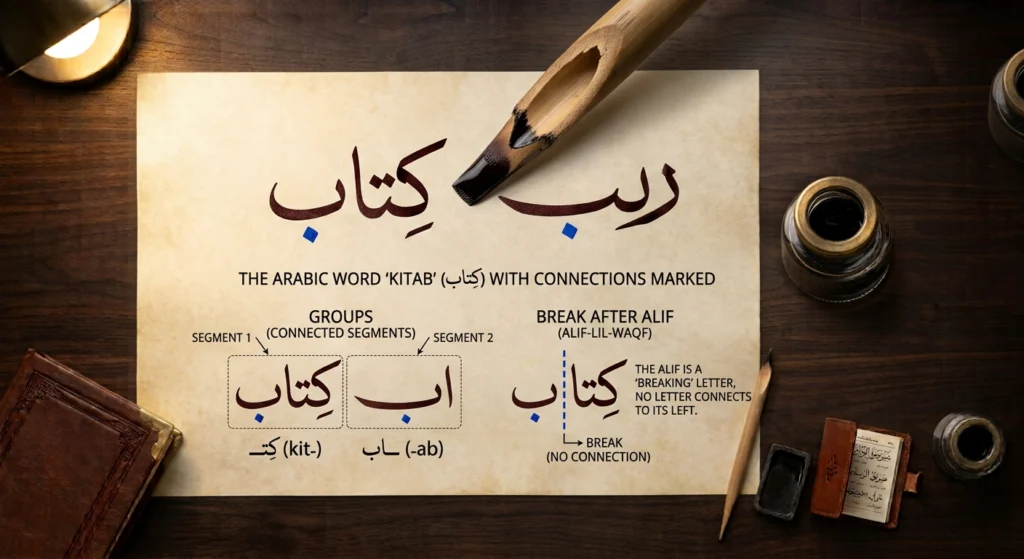
The same happens in سلام (salam, “peace”): س and ل connect, ا breaks the chain, and م stands apart. Once you notice this pattern, words start looking less like a single unbroken line and more like small linked groups.
There’s one special case worth knowing. When ل (lam) is followed by ا (alif), the two always merge into a ligature, لا. It’s required, not optional.
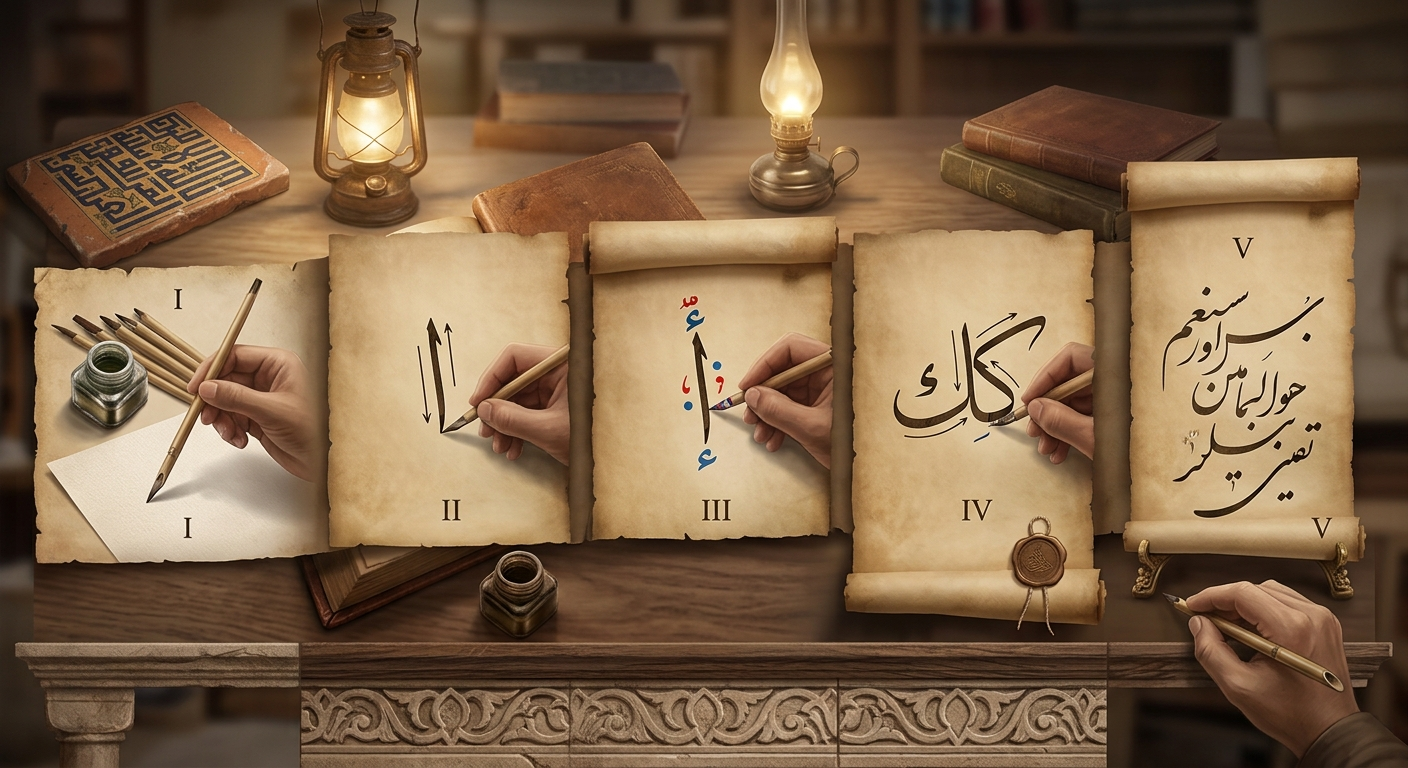
Step 5: Practice Stroke by Stroke
Whether you write with a pencil, a ballpoint, or a flat-edged calligraphy pen, a few habits help:
- Use lined paper. Arabic letters sit on an invisible baseline, and many descend below it or rise above it. A guide line keeps proportions consistent.
- Write the body first, dots last. For a full word, complete the letter shapes, then go back and add every dot at once.
- Go slowly at first. Speed comes from muscle memory, not from rushing. Trace letter charts, then copy them, then write from memory.
- Practice in families. Write a full row of ب ت ث ن ي, then a row of ج ح خ, and so on.
- Say the letter aloud as you write it. This connects the shape with the sound.
A few short sessions each day usually work better than one long weekly session. Keep a notebook where you write simple words you already know, like names, greetings, and street signs.
Step 6: Add Vowels and Other Marks
Arabic has three short vowels, but everyday writing usually leaves them out. Native readers fill them in from context. Books, newspapers, and street signs rarely show them. Children’s books, Qur’an copies, and learner materials do.
The marks, called harakat, are small symbols placed above or below letters:
- Fatha (ـَ): a short “a” sound
- Kasra (ـِ): a short “i” sound
- Damma (ـُ): a short “u” sound
So كَتَبَ is read kataba (“he wrote”). There are a few more marks you’ll know soon: sukun (ـْ) shows there’s no vowel, shadda (ـّ) doubles a consonant, and tanwin adds an “-n” sound at the end of certain words.
Long vowels are different. They’re written as full letters: ا, و, and ي. The hamza (ء) is also worth learning early, since it appears on or beside alif, waw, and ya in many common words.
As a beginner, it’s reasonable to write the vowel marks while you learn, then drop them as you gain confidence.
Step 7: Write Numbers Correctly
The digits used across much of the Arabic-speaking Middle East are ٠ ١ ٢ ٣ ٤ ٥ ٦ ٧ ٨ ٩, often called Eastern Arabic numerals. North African countries more commonly use the Western digits you already know (0 to 9), so it depends on the region.
Handwriting vs. Arabic Calligraphy
At some point you may notice that the Arabic you write doesn’t look like the art on mosque walls or in museums. That’s normal. Handwriting and Arabic calligraphy share the same alphabet, but they serve different purposes.
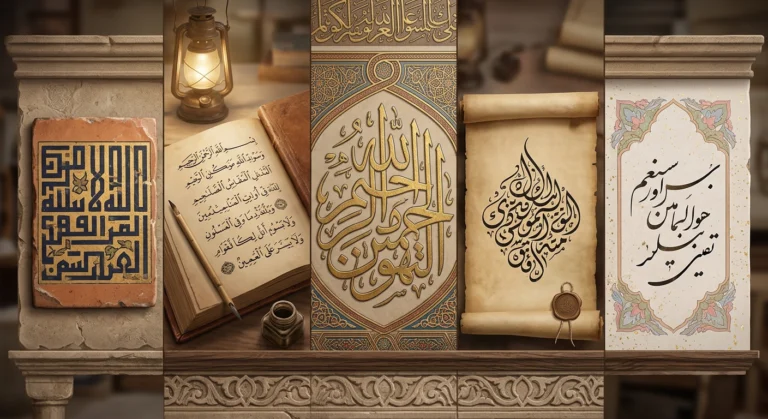
Everyday handwriting is usually done in Ruq’ah, a compact, fast hand with few flourishes. Printed text and many digital fonts are based on Naskh, which is clear and easy to read. Calligraphy, by contrast, follows strict proportional rules and uses styles like Thuluth, Diwani, Nastaliq, Kufic, and Maghribi for decorative, ceremonial, or artistic work. Students of the traditional art spend years learning to cut a reed pen (qalam) and train under a master.
If you want to see how the same word changes between styles without picking up a pen, try the Arabic Calligraphy Creator. You type Arabic text and the tool displays it in styles like Naskh, Thuluth, Diwani, Nastaliq, Kufic, Maghribi, and Kufi Modern. It won’t teach you stroke order, since it works from text you’ve already typed. But it’s a useful way to explore Arabic calligraphy styles and choose one for a project, a greeting card, or a design.
If your text is religious or is going somewhere permanent, such as a tattoo, a wall piece, or a print order, ask a fluent Arabic speaker to check spelling and diacritics first.
Common Mistakes Beginners Make While Writing in Arabic
- Writing left to right. It feels natural at first. Start from the right edge every time.
- Using isolated forms inside words. Every connected letter needs its initial, medial, or final shape.
- Connecting the six non-connecting letters. Break the chain after ا د ذ ر ز و.
- Skipping or misplacing dots. Treat dots as part of the letter.
- Ignoring the baseline. Letters that float up or sink down look uneven and are harder to read.
- Learning only from typed fonts. Handwritten forms can differ from printed ones, so look at both.
Conclusion
Learning to write in Arabic comes down to a handful of ideas, such as writing right to left, learning the 28 letters in families, understanding the four letter forms, remembering the six non-connectors, and adding dots and vowel marks carefully. Start with short words you know, practice a little each day, and use a keyboard or tool to check your work.
When you’re ready to see your words in a more artistic form, enter them into the Arabic Calligraphy Creator and compare the styles side by side.